
Parent and Child Workflows
Parent workflows define the primary verification journey a user must complete for a given process. They act as the main structure that controls how verification steps are executed.
A parent workflow can contain one or more child workflows. These child workflows are directly linked to the parent and depend on it for execution.
Child workflows cannot run until the parent workflow has been successfully completed. This ensures that users finish all required core verification steps before proceeding to any additional or follow-up checks.
Reporting for child workflows is inherited from the parent workflow. This means child workflows share the same report type and cannot be configured with a separate reporting format.
By using parent and child workflows together, businesses can organize complex verification processes while ensuring all steps are completed in the correct order.
Child Workflows
A child workflow is a sub-component of a parent workflow. It allows you to break a larger, complex verification flow into smaller, more manageable parts.
Child workflows can be created and managed independently, but they remain linked to the parent workflow. Users must complete the parent workflow before they can begin any associated child workflow.
This structure makes it easier to organize verification steps, manage dependencies, and maintain clarity across complex business workflows.
How to Create Child Workflows
-
Access the QoreID landing page
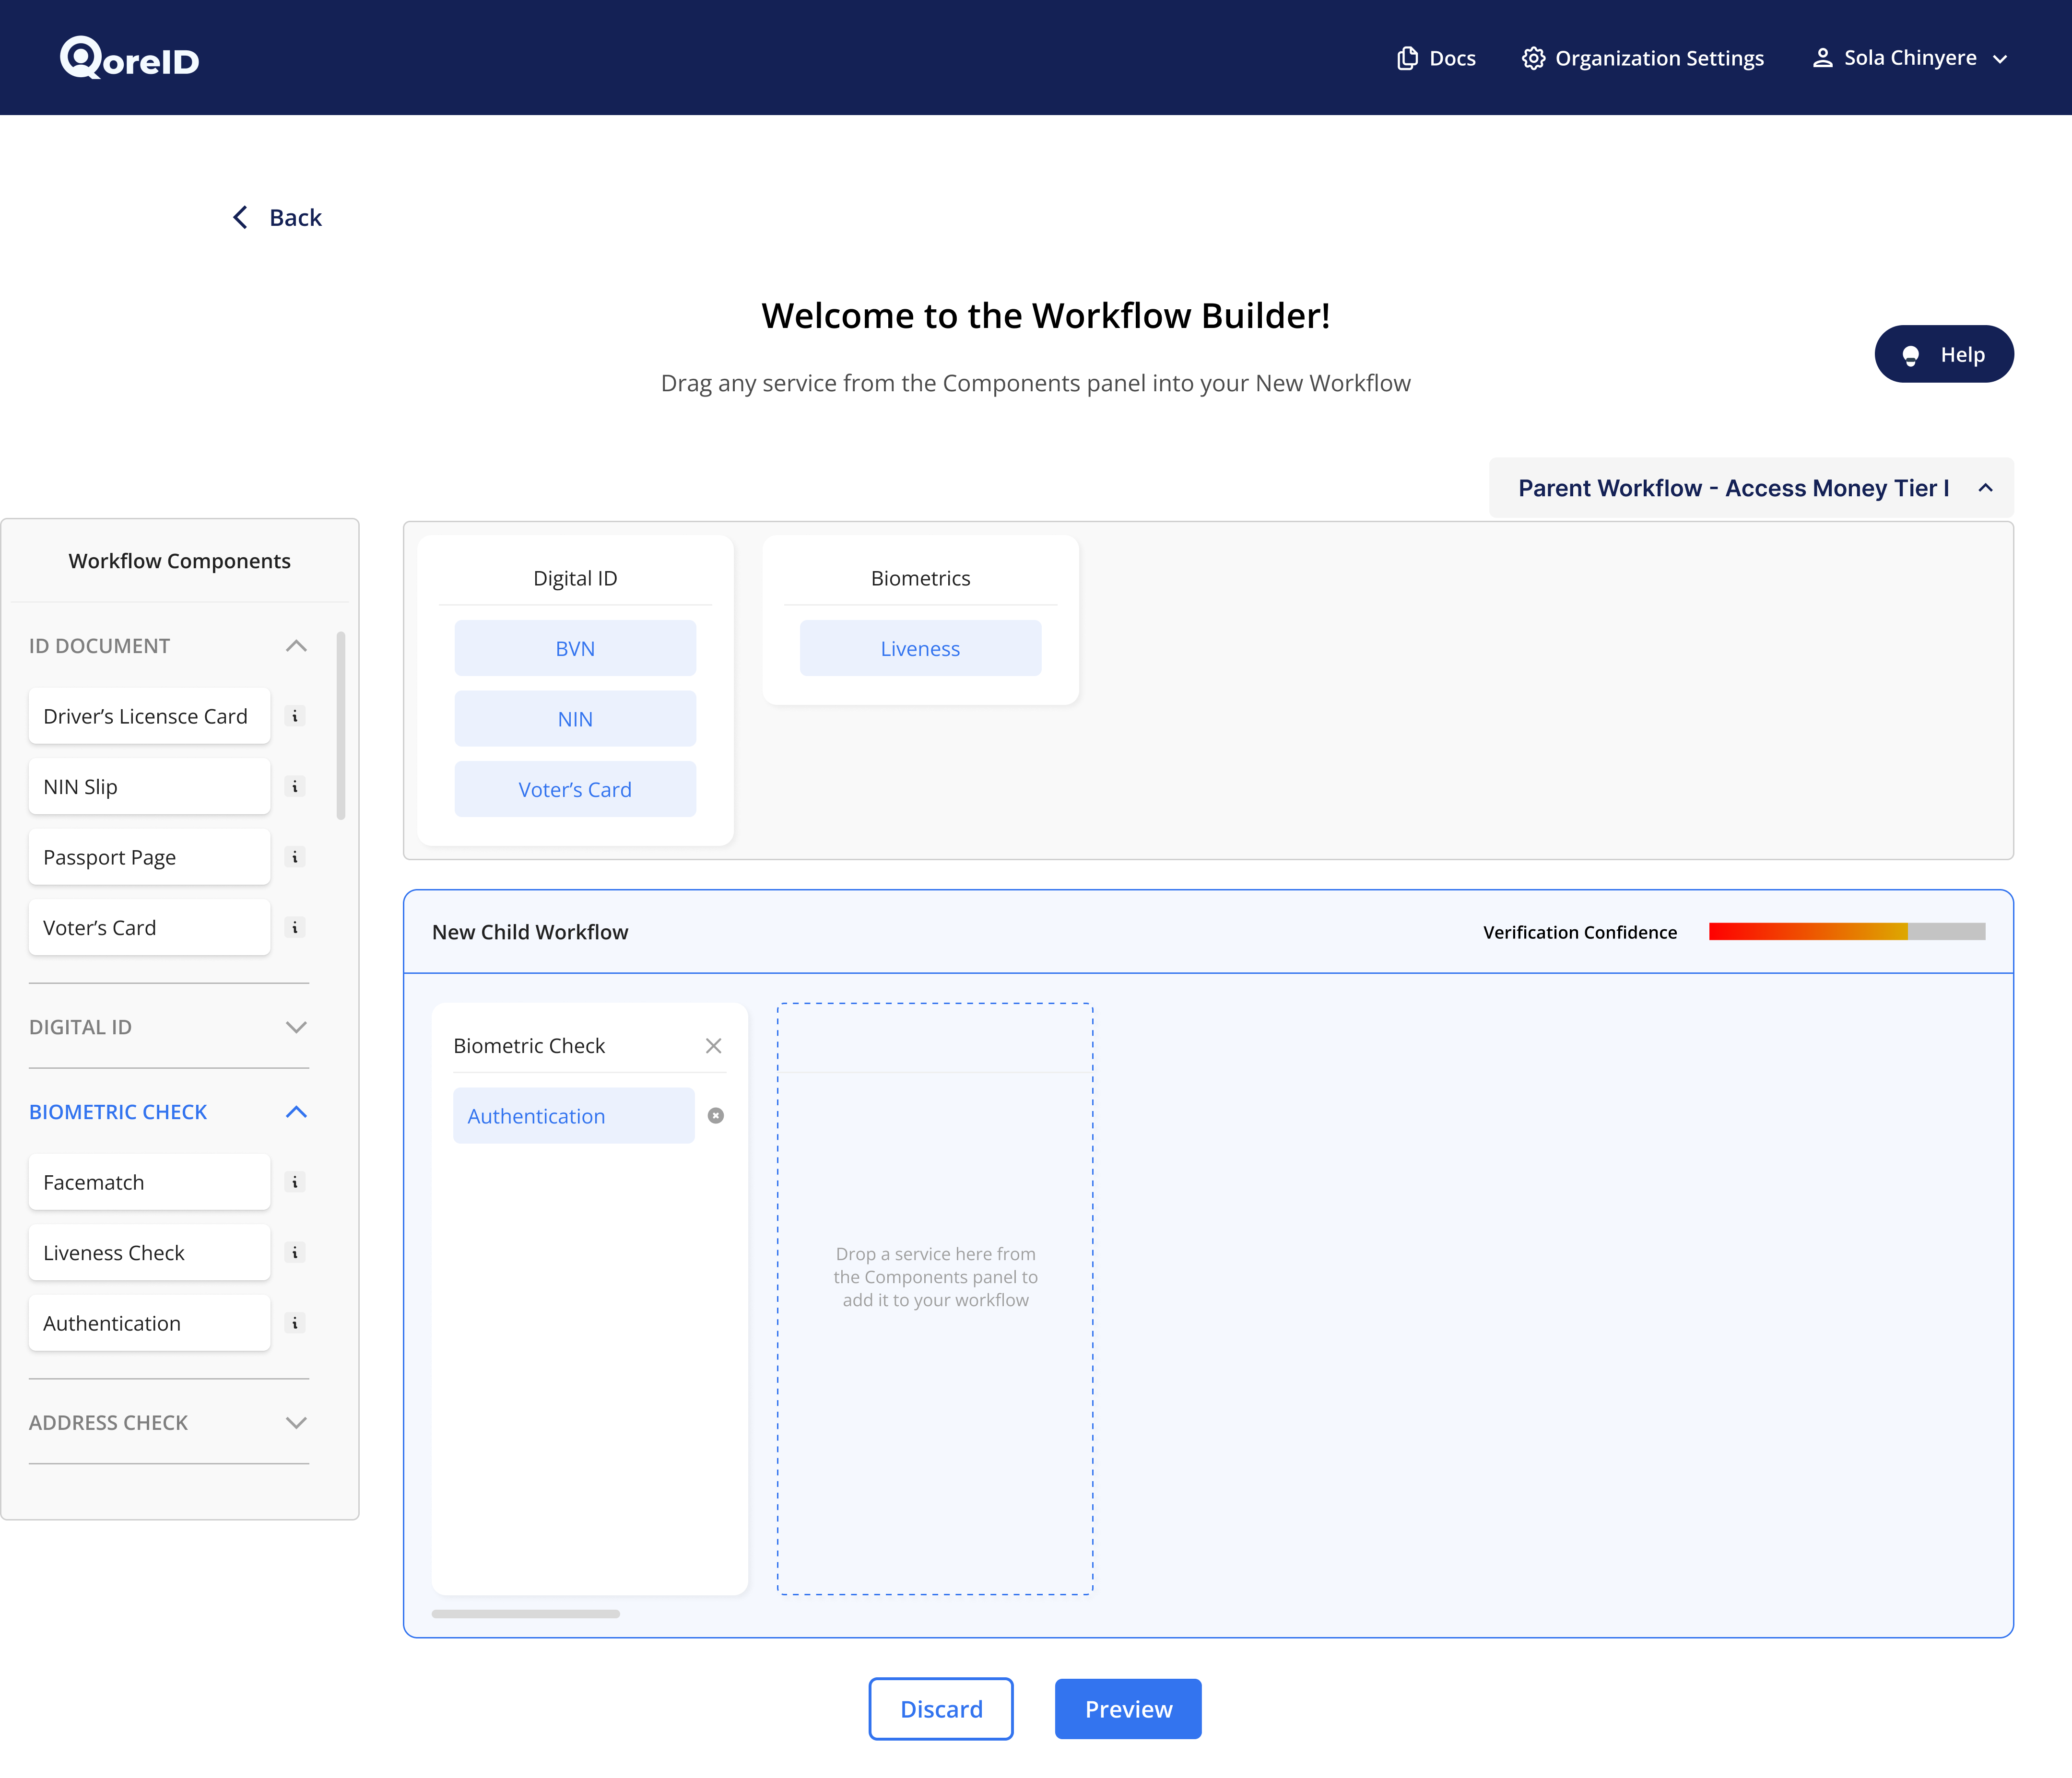
To create a child workflow, navigate to the QoreID landing page. This page displays all available workflow cards
-
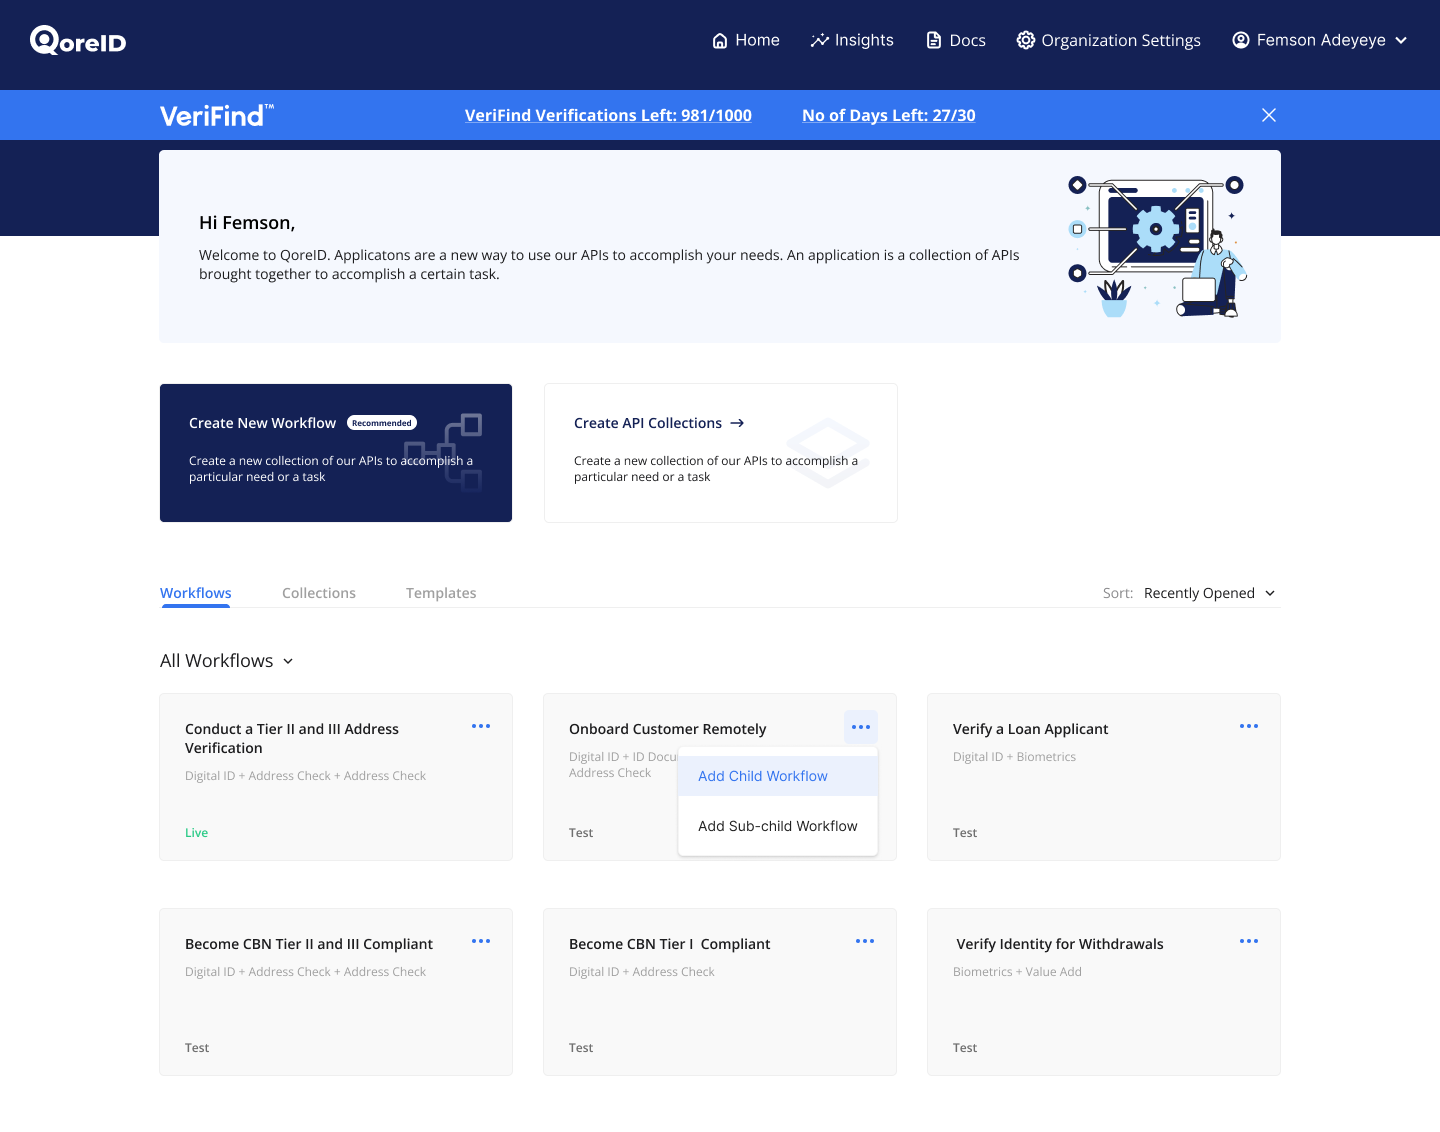
Select “Add child workflow”
From the dropdown menu, select Add child workflow. This action opens the workflow editor and creates a new child workflow linked to the selected parent workflow.
-
Drag new services required in the Child workflow into the workflow
By default, the workflow editor shows a preview of the parent workflow. Services already included in the parent workflow will appear in the preview and cannot be duplicated in the child workflow.
If you attempt to add a service that already exists in the parent workflow, an attention error popup will appear.
-
Preview of Child Workflow
Use the preview screen to review all services added to the child workflow and confirm the configuration.
-
Save the Child Workflow
Once complete, click Save. The child workflow will automatically be attached to the parent workflow.
Use case
In a typical authentication journey, users often need to complete multiple verification steps.
Child workflows allow businesses to keep parent workflows focused on only the essential, mandatory checks. Additional or conditional verification steps can then be handled within child workflows.
This approach reduces friction, shortens onboarding time, and makes the verification process easier for first-time users to complete.
Updated 6 months ago